1. Find Your License Key
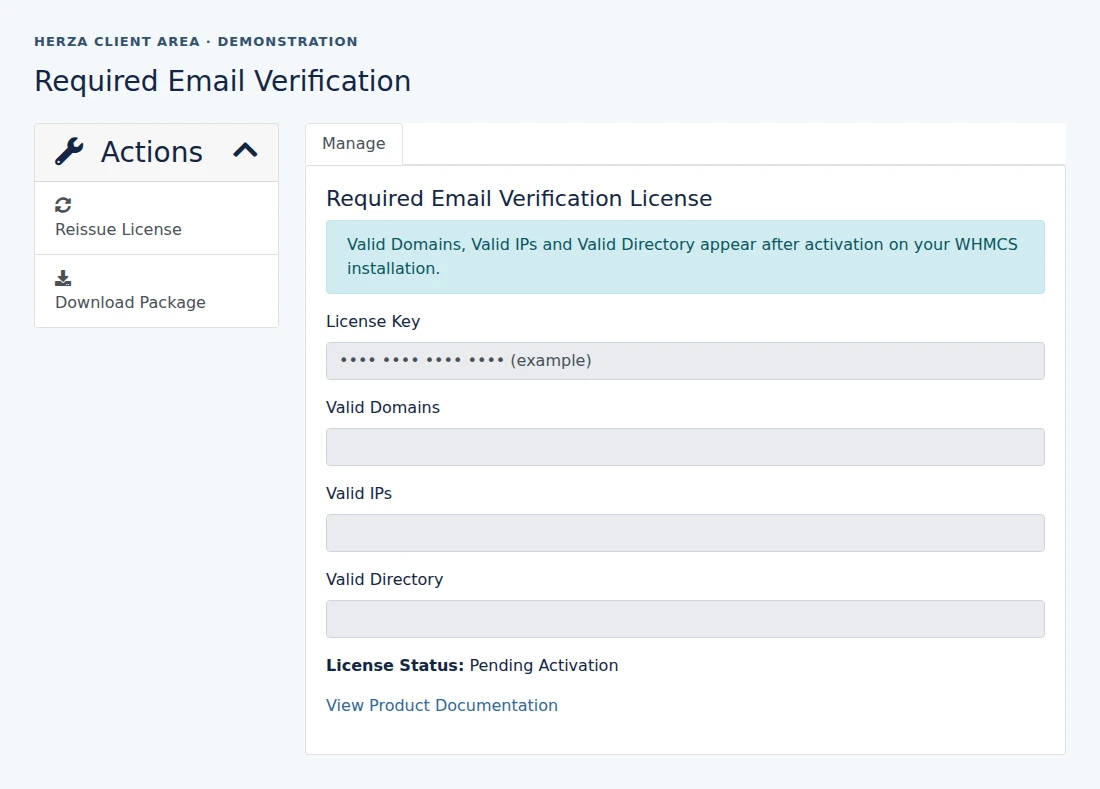
In the HERZA Client Area, go to My Products & Services → Required Email Verification. Open Manage and copy License Key. A newly issued license shows Pending Activation. The key is private; keep it out of tickets, screenshots, and command arguments.
2. Paste the Key in Addon Modules
- On your own WHMCS installation, open Configuration → System Settings → Addon Modules.
- Activate WHMCS Required Email Verification if it is not already active, then click Configure.
- Paste the key into License Key, directly below Enable Email Verification. Click Activate License.
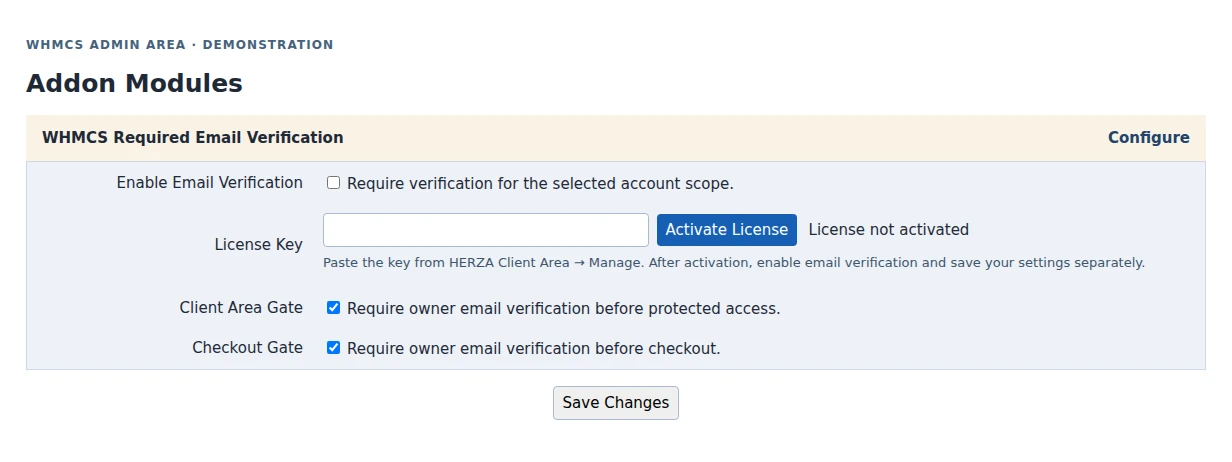
The addon detects the installation details automatically. One license binds to one WHMCS installation at a time.
3. Confirm Activation and Save Settings
The addon displays License active after it validates the key. Reload the product page in the HERZA Client Area and open Manage. The status should show Active, and the registered domain, IP address and installation directory should be listed. In the WHMCS Admin Area, review the verification settings and click Save Changes if you changed them.
Move to a Different Installation
On the HERZA product page, choose Actions → Reissue License and confirm. The license keeps the same key. Open the addon settings on the destination installation and click Activate License there. Retire the old copy during migration.